This post was updated in December 2019.
Let’s face it.
There are people who visit your blog — and then vanish without a trace.
It’s not that they don’t love your content — they sure do. ❤️
Why wouldn’t they? Your posts are unique and relevant. Spectacular, even.
But there are over 1.7 billion websites out there right now. What’s more, there’s social media, instant messaging, push notifications hitting if they’re reading your blog on mobile, and a ton of other online distractions all competing for your reader’s attention.
When they leave your site, how do you make sure they bump into you again in the (hopefully near) future?
The answer is through an email subscription.
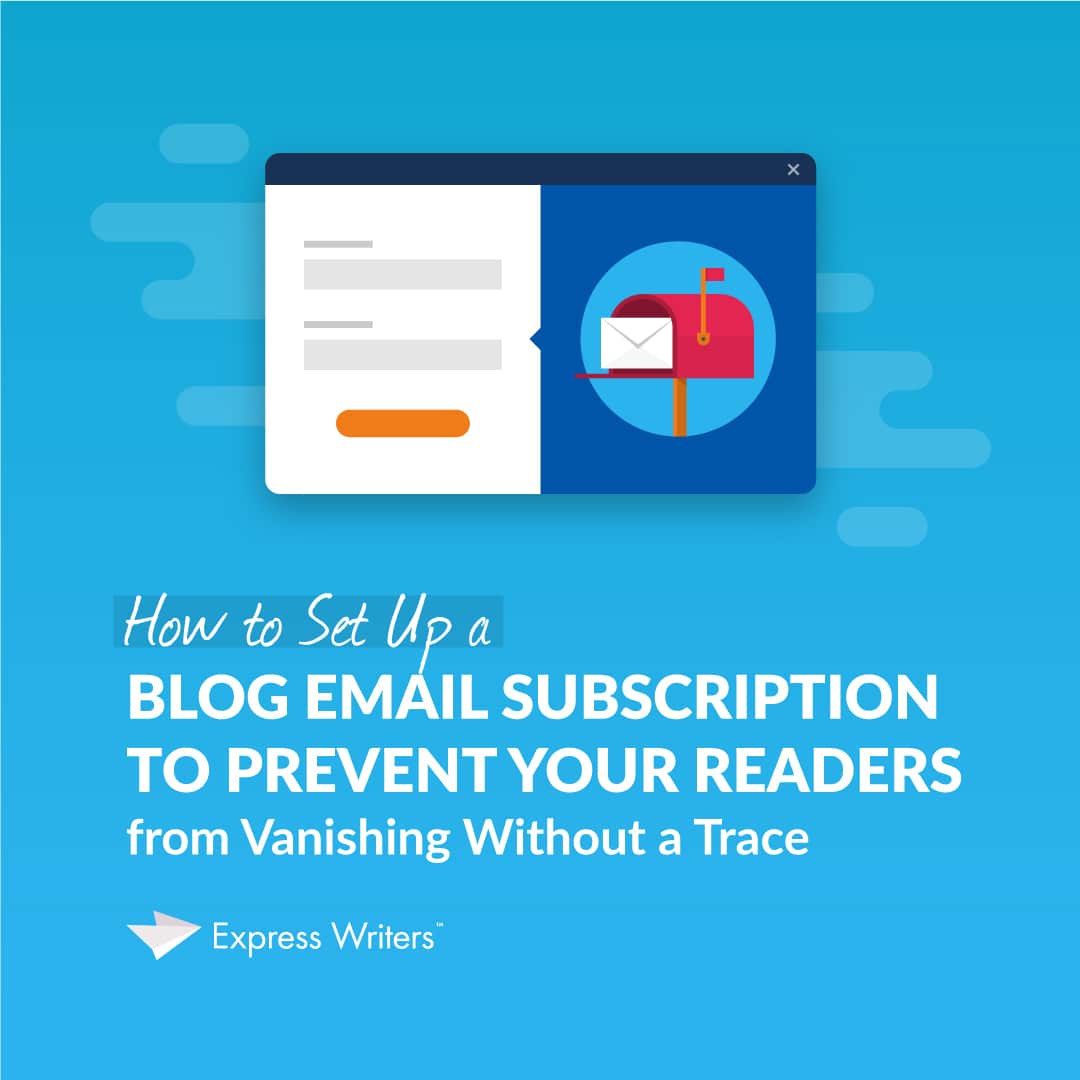
Want to know how to set up a blog email subscription to prevent your readers from vanishing without a trace?
Read on to learn how.
How to Set Up a Blog Email Subscription to Prevent Your Readers from Vanishing Without a Trace – Table of Contents
Why You Can’t Survive Without a Blog Email Subscription
Blog Email Subscription Is Important: The Case for Email Marketing
How to Set Up a Blog Email Subscription – Your Comprehensive Guide
1. Find the Right Subscription Service
- ConvertKit
- Mailchimp
- AWeber
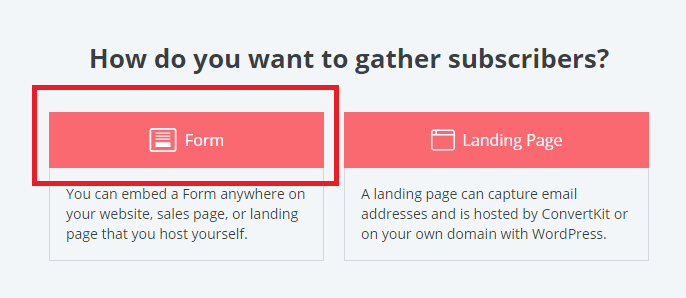
2. Create Your Landing Page or Form
- How to Set Up a Landing Page
- How to Set Up a Form
3. Get Your Email Sequence Ready
4. Add Your Landing Page or Form to Your Blog
- How to Add a Form to WordPress
- How to Add a Form to Blogger
- How to Add a Landing Page to WordPress or Blogger
Why You Can’t Survive Without a Blog Email Subscription
Your blog reader is like that girl you meet in a café in one romantic, rainy afternoon.
You gather up the courage to introduce yourself to her. She smiles and gives you her name. She seems genuinely interested in you, and you strike up a conversation. You buy her coffee. Maybe you even start picturing her walking down the aisle towards you in the future.
But what happens if you don’t ask her for her number?
You go home and completely lose track of her.
You can’t set up another date. Ask her how she is. Give her value and make her feel special. In short, she’s gone forever.
This is what happens when you don’t set up an email subscription on your blog. Your readers may feel interested in your blog content, but if you don’t ask them for a way to stay in touch with them, they’re going to disappear without a trace.
Blog Subscription IS Important: The Case for Email Marketing
But is it really worth it to set up a blog email subscription? Does email marketing even work?
The short answer is yes.
Let’s look at some facts.
- Email marketing converts 40x more prospects than social media.
- According to Statista, email usage is predicted to grow 2-3% every year.
- There are 9 billion active email users today (that’s more than half the population of the world!).
So if you’re worried that marketing through email is so 2005, there’s no need to be.
How to Set Up a Blog Email Subscription – Your Comprehensive Guide
Setting up a blog email subscription is as easy as following these four steps.
1. Find the Right Subscription Service
Before you can set up a blog email subscription, you need a service that allows you to create forms, landing pages, and customized emails. Here are three of the most popular subscription services today.
1. ConvertKit
ConvertKit is a user-friendly platform that allows you to automate emails, track conversion rates, and create personalized forms, landing pages, and emails. Check out this blog to see how ConvertKit increased our clicks by 200%!
2. Mailchimp
Mailchimp lets you put your best foot forward with emails that are professional, personalized, and concise. It also offers real-time analysis, connections to your online stores, and a content studio where you can store all your images.
3. AWeber
AWeber’s unique selling point is that it allows you to create beautiful templates without hassle. You don’t need expertise in email marketing to join the over 1,000,000 entrepreneurs and business owners who use this service.
2. Create Your Landing Page or Form
Your form or landing page is where you’ll ask your reader to exchange her email address for something of value. Let’s say you’ve chosen ConvertKit as your subscription service. Here’s how to set things up.
How to Set Up a Landing Page
Log into your ConvertKit account. On the top left toolbar, click Landing Pages and Forms.
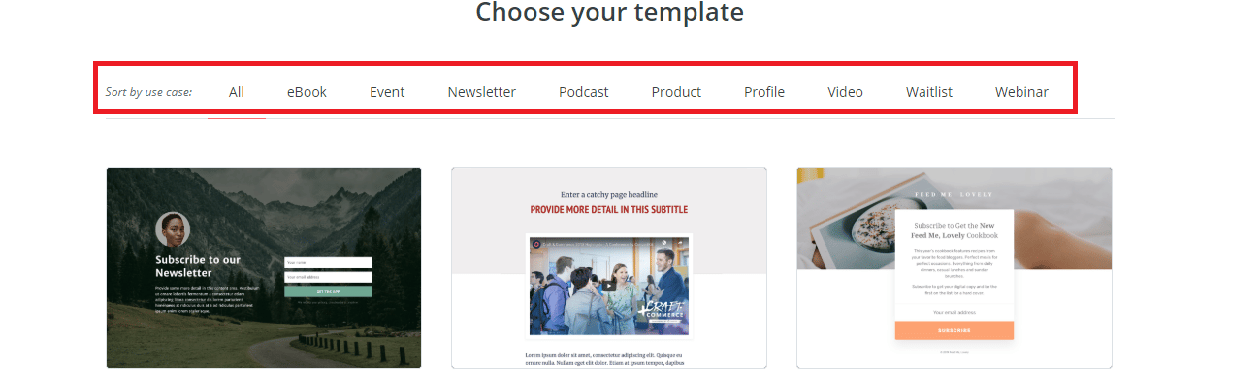
Click Landing Page. You’ll then be asked to select from a number of templates. Pick the one that resonates with you the most.
If you aren’t sure which template to pick, take a look at the toolbar at the top of the template options. There are templates for e-books, events, newsletters, podcasts, and so on.
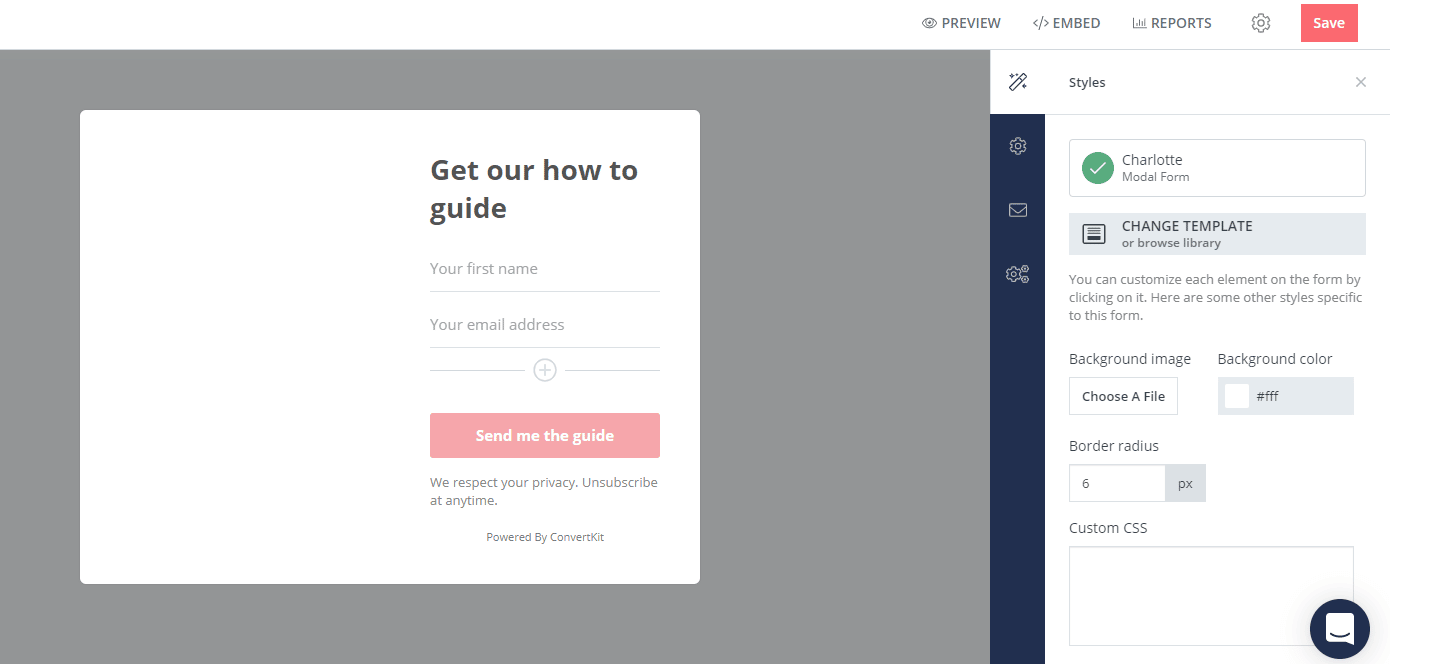
Once you’ve selected your template, it’s time to start customizing it! Here’s an example of what it’ll look like.
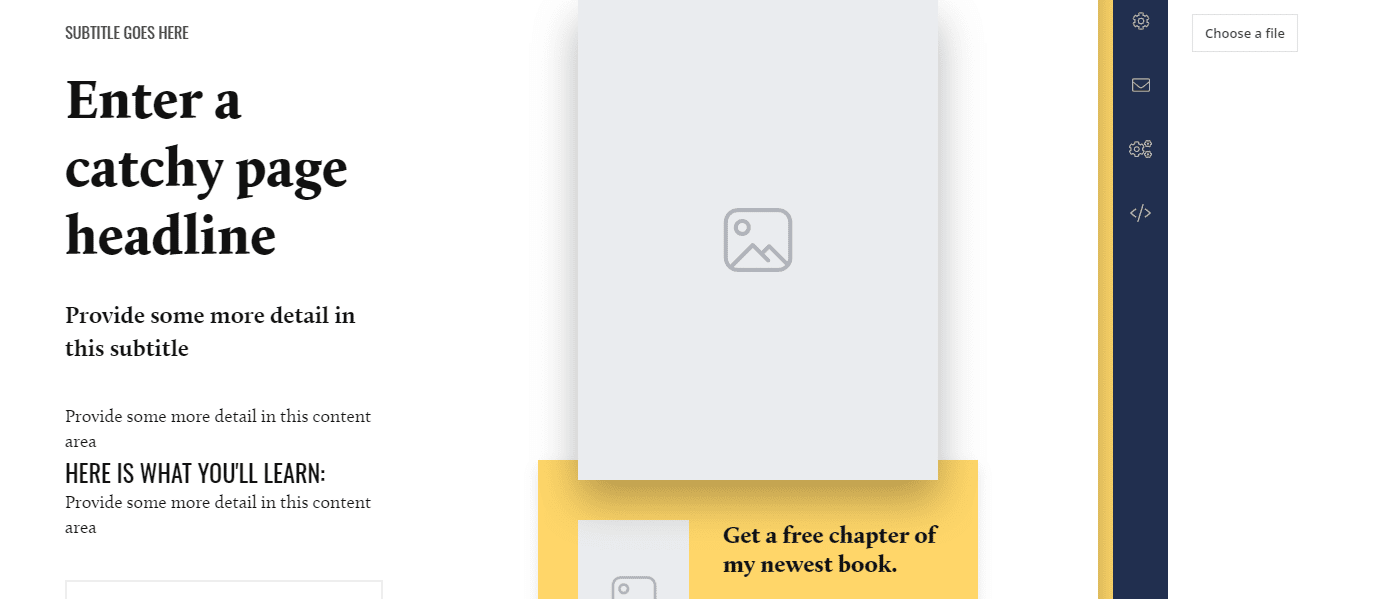
It’s super easy to edit each part of the landing page. Simply click on the area you want to change, type in your text, and you’re done! If you’re offering a freebie for download, click Choose a File on the top right of the page and upload it.
Remember, your ultimate goal is to make your readers want to give you their email addresses. To do that, offer them something in return. Here are some attention-grabbing freebies that work every time.
- A free e-book. This can be 10 to 20 pages long. Pack it with tips, tools, and hacks that’ll improve your readers’ lives. Showing them your expertise will strengthen their faith in you (and push them towards wanting the product you’re selling).
- A downloadable template. Templates make people’s lives easier. Using one is as simple as plugging your own information into a ready-made outline. So if you offer resume writing services, for instance, give those who opt in a free resume template that’s proven to work with employers.
- A time-saving cheat sheet. Give readers the chance to improve their skills quickly with a cheat sheet. Cheat sheets work wonders because they contain a ton of information in a compact, easily digestible form.
When you’re finished creating your landing page, click Save.
A note about downloads: One great thing ConvertKit offers is email confirmation once a subscriber downloads your free offer. It helps you get rid of pesky double opt-in emails. So if your reader gives you her email address and downloads your freebie, her email address is automatically confirmed.
How to Set Up a Form
Click Landing Pages and Forms at the top left of your account and select Forms.
Next, select where on your blog you want the form to appear. Do you want it as a slide-in that catches viewers’ attention as they read? A sticky bar at the top of your content? A pop-up?
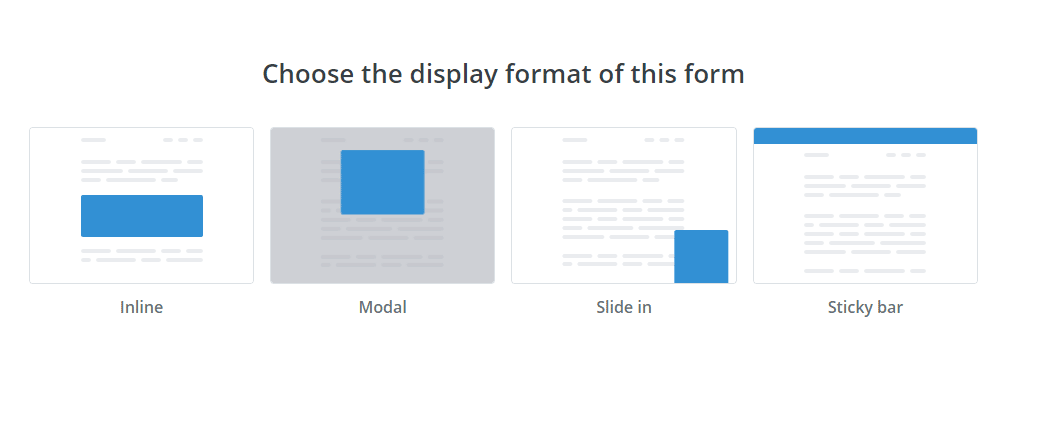
Once you’ve decided on the right format, click it, and customize it. When you’re done, click Save.
3. Get Your Email Sequence Ready
The next step is to create an email sequence. This is a set of emails that’ll be your voice to convert, inspire, and give real value to readers who give you their email addresses. On ConvertKit, it’s pretty easy.
First, click Sequences on the top left toolbar of the platform. Click New Sequence and give your sequence a name.
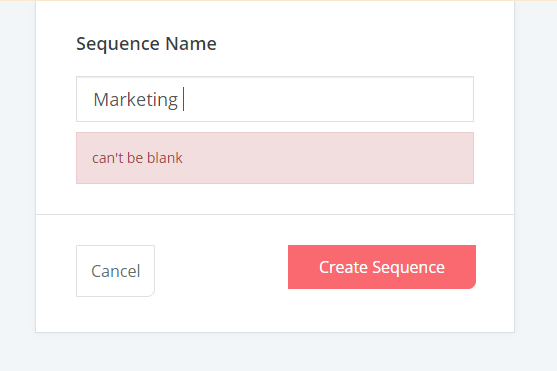
Click Create Sequence. You’ll then be able to edit your email to capture your unique message. Here’s what it looks like.
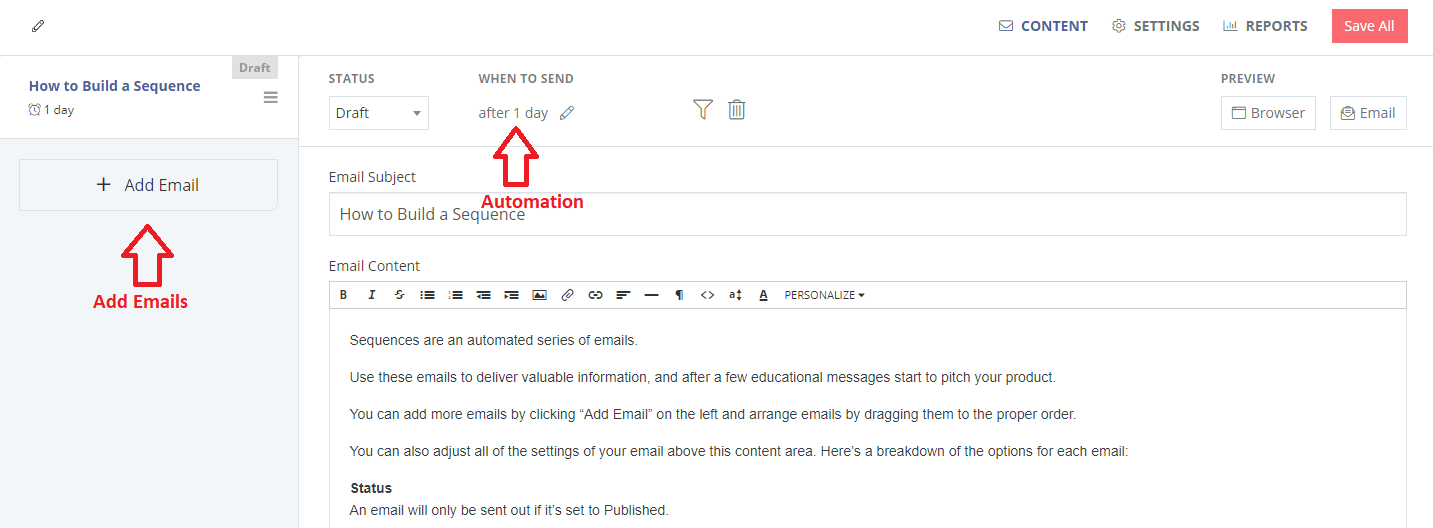
On the left side, click Add Email for as many emails as you plan to send in the sequence. For each email, choose when you want it to arrive in your recipient’s inbox.
Remember, make sure your email copy is as strong as possible. No amount of fancy gimmicks will interest readers to keep on clicking your emails if your content doesn’t give them anything of value. Here are some tips to keep in mind.
- Get to the point as soon as you can. People won’t stick with you if you digress and add a lot of zero-value details to your email.
- Imagine you’re writing to one person. Picture the person in the room with you. Know her desires, beliefs, and needs. Help her solve her problems. When you do, she’ll click the next email you send her. And the next.
- Know your email’s goal. Do you want your reader to click back to your blog? Become a member of your special club? Buy something? Start with knowing your email’s main goal, and your copy will flow smoothly towards that goal.
Want more tips on writing emails that convert? Read How to Write an Email that Resonates with Your Reader.
Or read this powerful post and learn the email marketing secrets of 12 top experts in the industry.
When you’re done crafting your emails, click Save All.
4. Add Your Landing Page or Form to Your Blog
Now that you have your emails ready to send, it’s time to gather those email addresses. First, you have to add your landing form or page to your blog. Here’s how.
How to Add a Form to WordPress
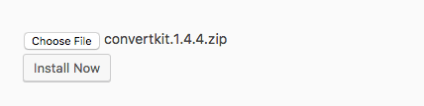
To add a form to your blog, download the WordPress ConvertKit plugin. Here’s what it looks like.
After you’ve downloaded the plugin, upload it to your admin panel on WordPress. Upload the .zip file directly to your site and click Activate Panel.
Return to ConvertKit and find your API key. This can be located on your account page.

Copy your API key and return to WordPress. Paste the API key into the blank field.

Click Save Changes.
Now, return to ConvertKit and click Embed on the top right toolbar.

Select WordPress from the options displayed. You will be given a shortcode you can paste to any page or post on WordPress.
If you want a default form to show up in all of your posts, you can manage that on your Plugin Options.
How to Add a Form to Blogger
You don’t have to download anything to add your form to Blogger. Simply click Embed when you’ve finished editing your form and select HTML. Copy the given code.
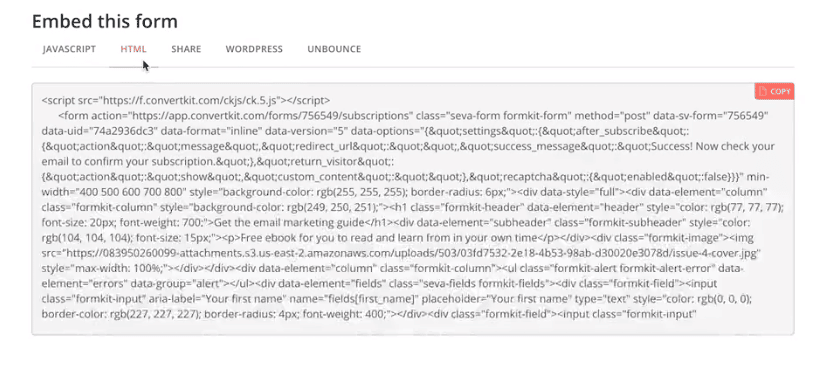
On your Blogger platform, click Pages on the left toolbar. Select HTML and paste the code you copied from ConvertKit.

Click Update to complete the task.
How to Add a Landing Page to WordPress or Blogger
On the top right toolbar, click Share.
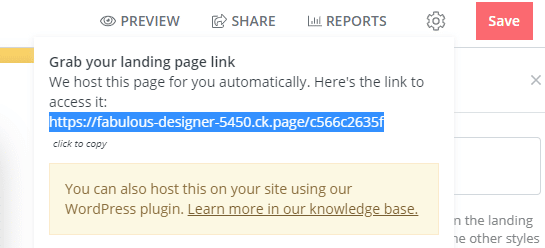
Copy the link and paste it anywhere you want it to appear on your blog. The landing page is hosted by ConvertKit.
If you want to host the page on your own site, you can do so if you’ve downloaded the ConvertKit WordPress plugin.
Set Up a Blog Email Subscription and Create Lasting Relationships with Readers
Let’s go back to the café.
You spend meaningful moments with the girl you met. You ask for her number and she gives it to you. Over the next months, you keep in touch with her. You enrich her life with value and gain her trust. In the end, you’re able to forge a strong, meaningful relationship with her.
That’s what it’s like when you set up a blog email subscription. Your aim is to build long, lasting relationships with readers. And it all starts with asking for their email addresses.
Want to get engaging, professionally written emails for your campaign? Visit our content shop for pricing.